Pulse Induction Metal Detector Clone PI-W M158.1 Modul
Original price was: 40,46 €.26,18 €Current price is: 26,18 €. Incl. VAT, excl. shipping – calculated at checkout
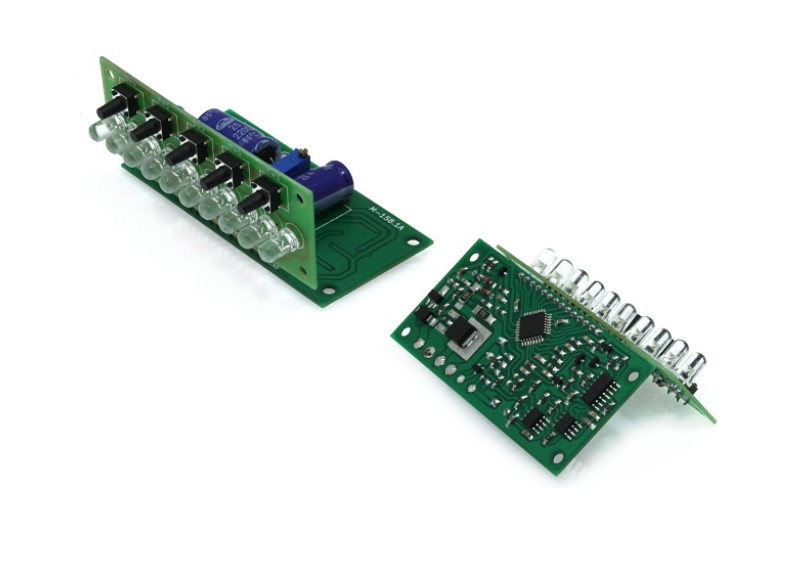
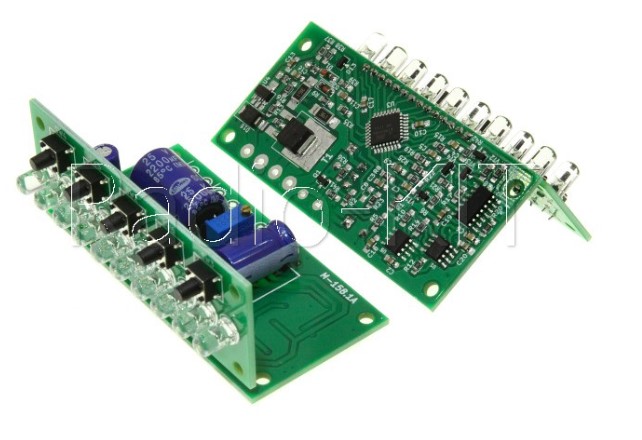
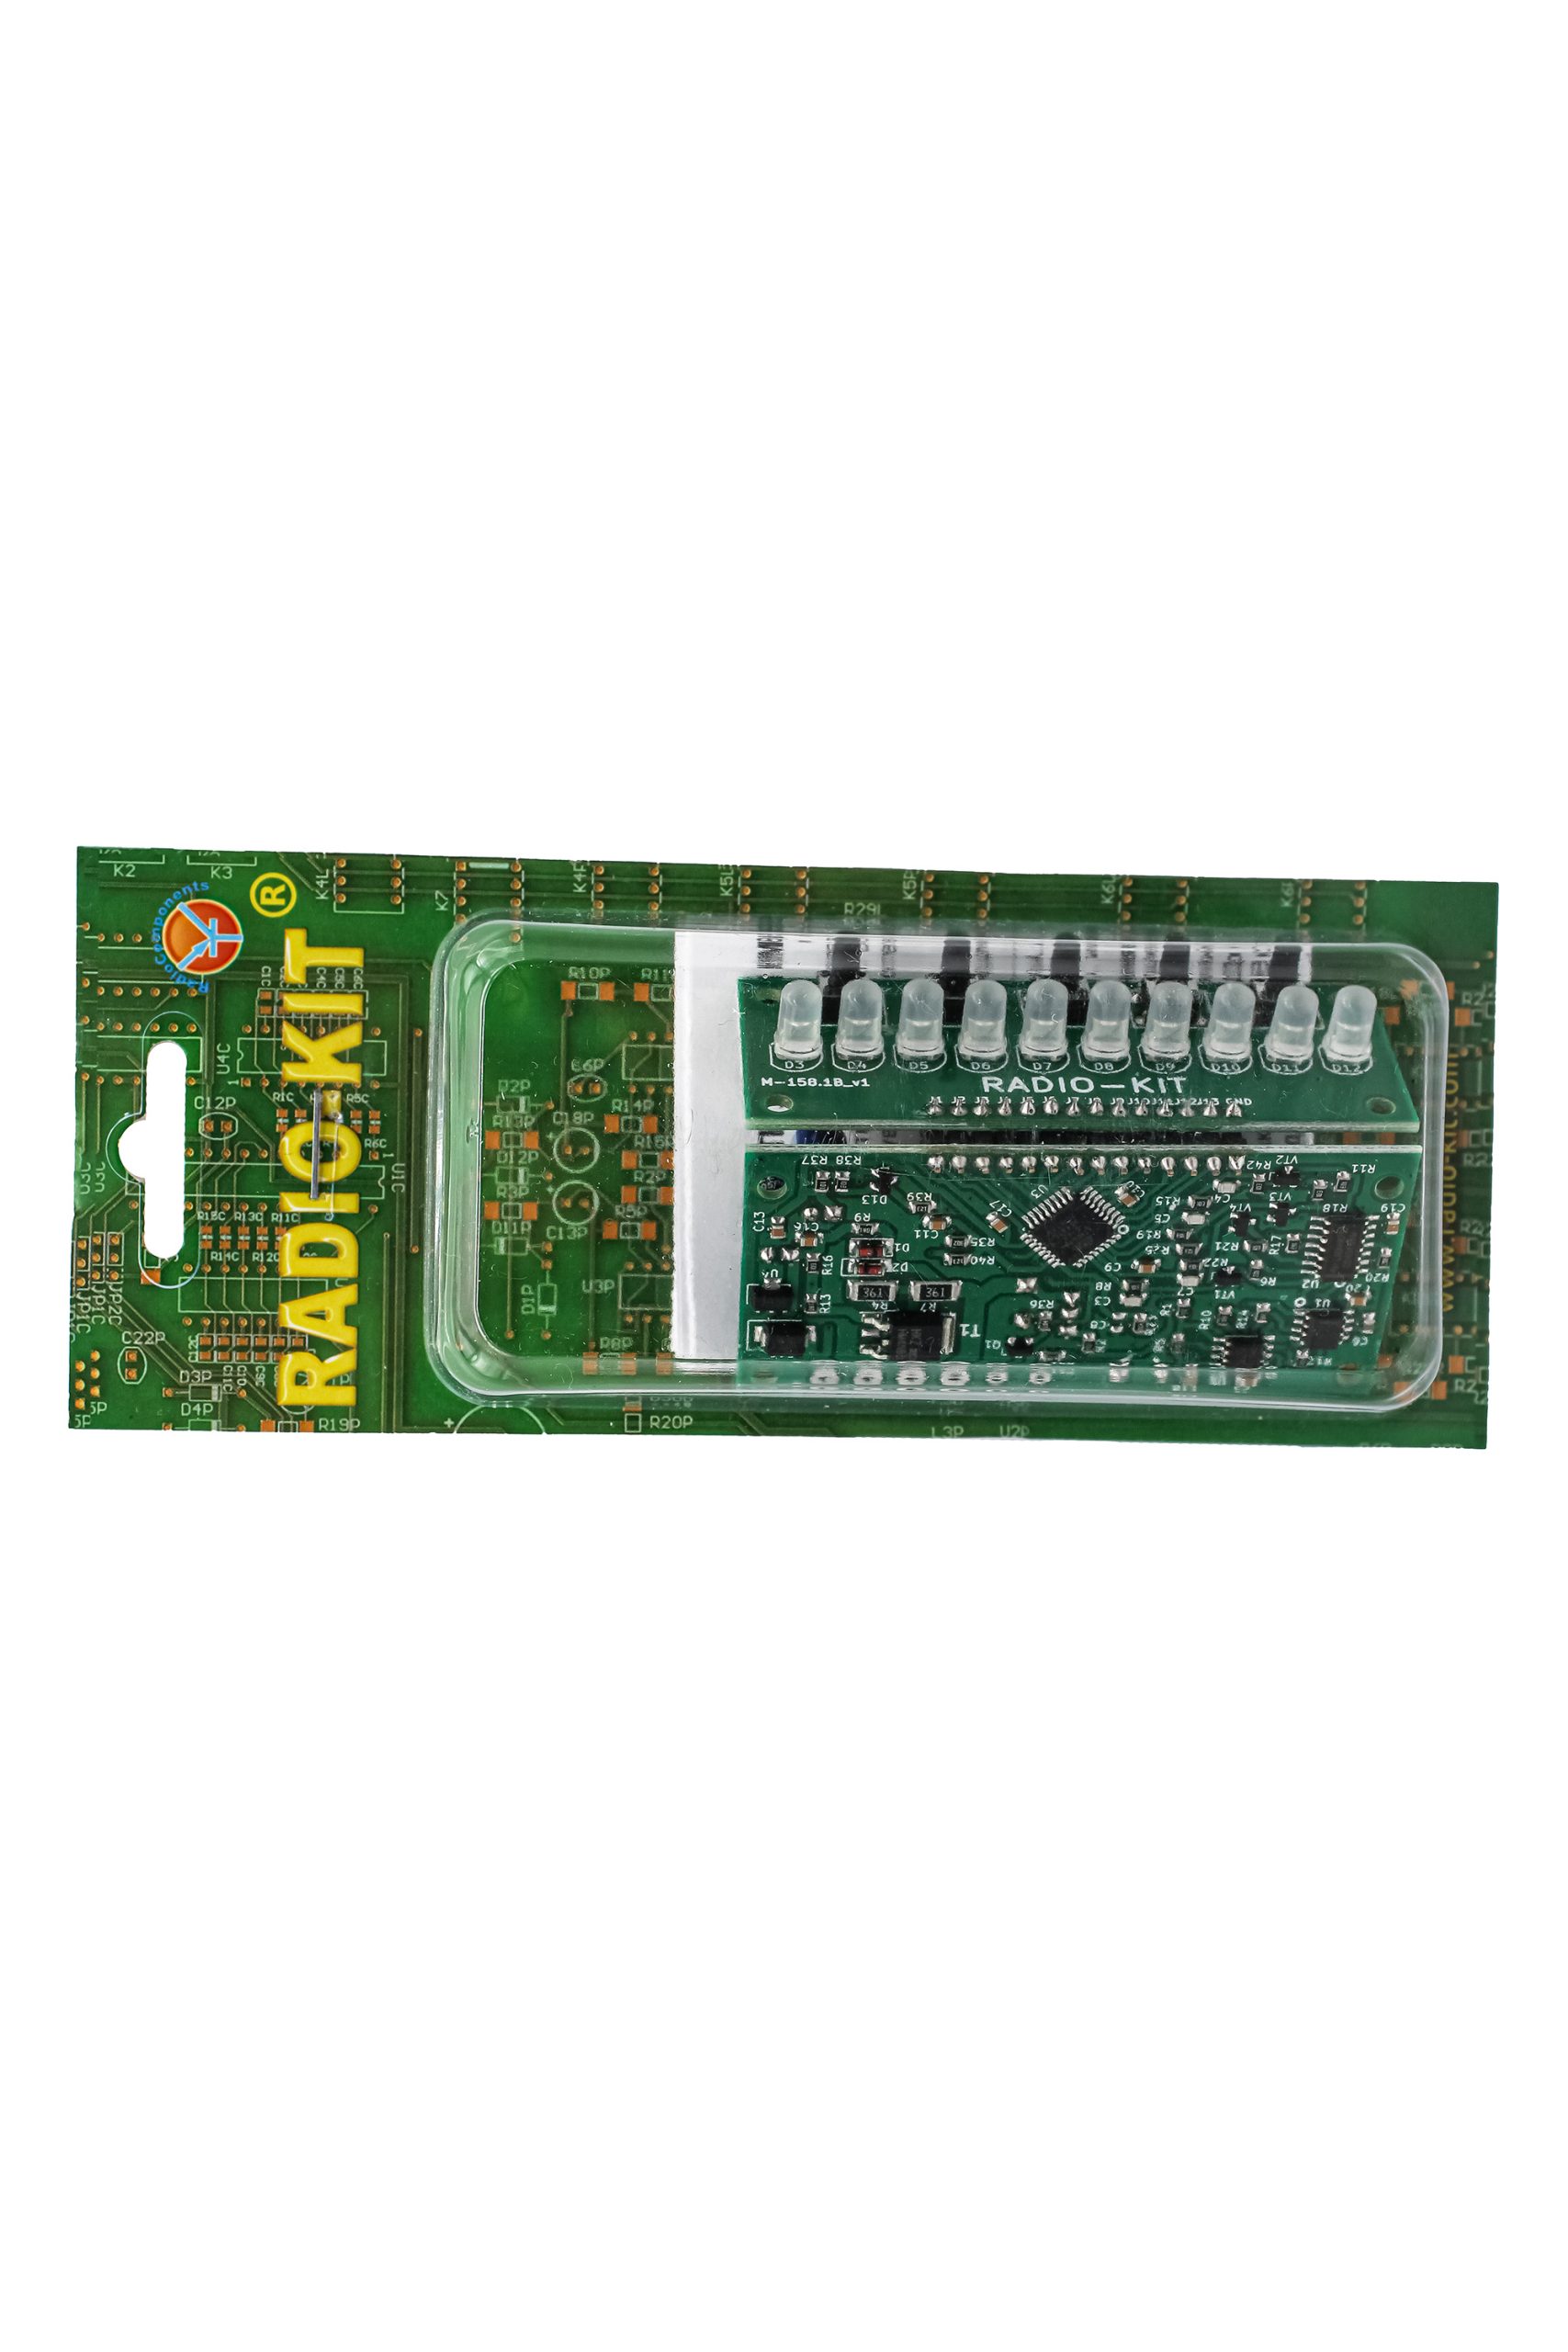
The module is a universal pulse metal detector on a microprocessor and uses Clone PI-W circuit and software solutions. Designed to search for metal objects in the soil, sand, walls, thick grass and others. The use of sensors of different sizes allows you to solve a wide range of search tasks.
4 in stock
- Satisfaction Guaranteed
- No Hassle Refunds
- Secure Payments
Description
Specifications
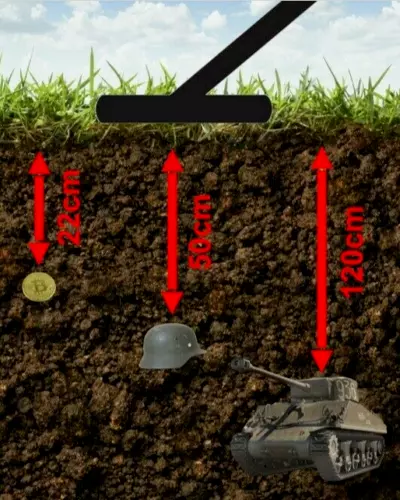
● Coin detection depth, to 25 – 28 cm
● Depth of detection of large objects 150 cm
● Minimum supply voltage, 6,5 V
● Supply voltage, 9 – 14 V
● Current consumption, 40-150 mA
● Impulse current consumption, 1 – 2 A
● Display Type, LED / Audible
● Board dimensions, 75 X 35 x 36 mm
*The current consumption depends on the volume setting of the speaker. At maximum volume, it can reach up to 240mA.
Device description
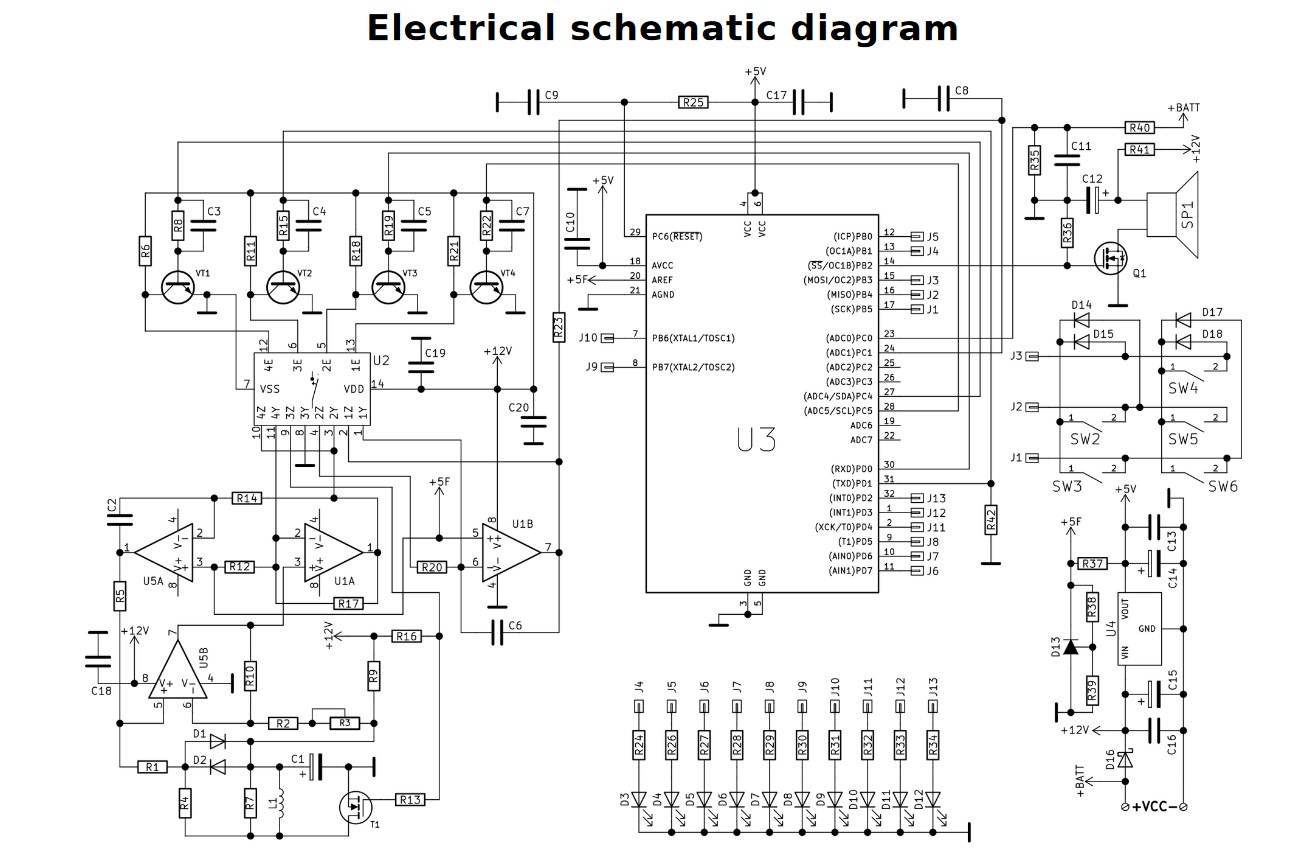
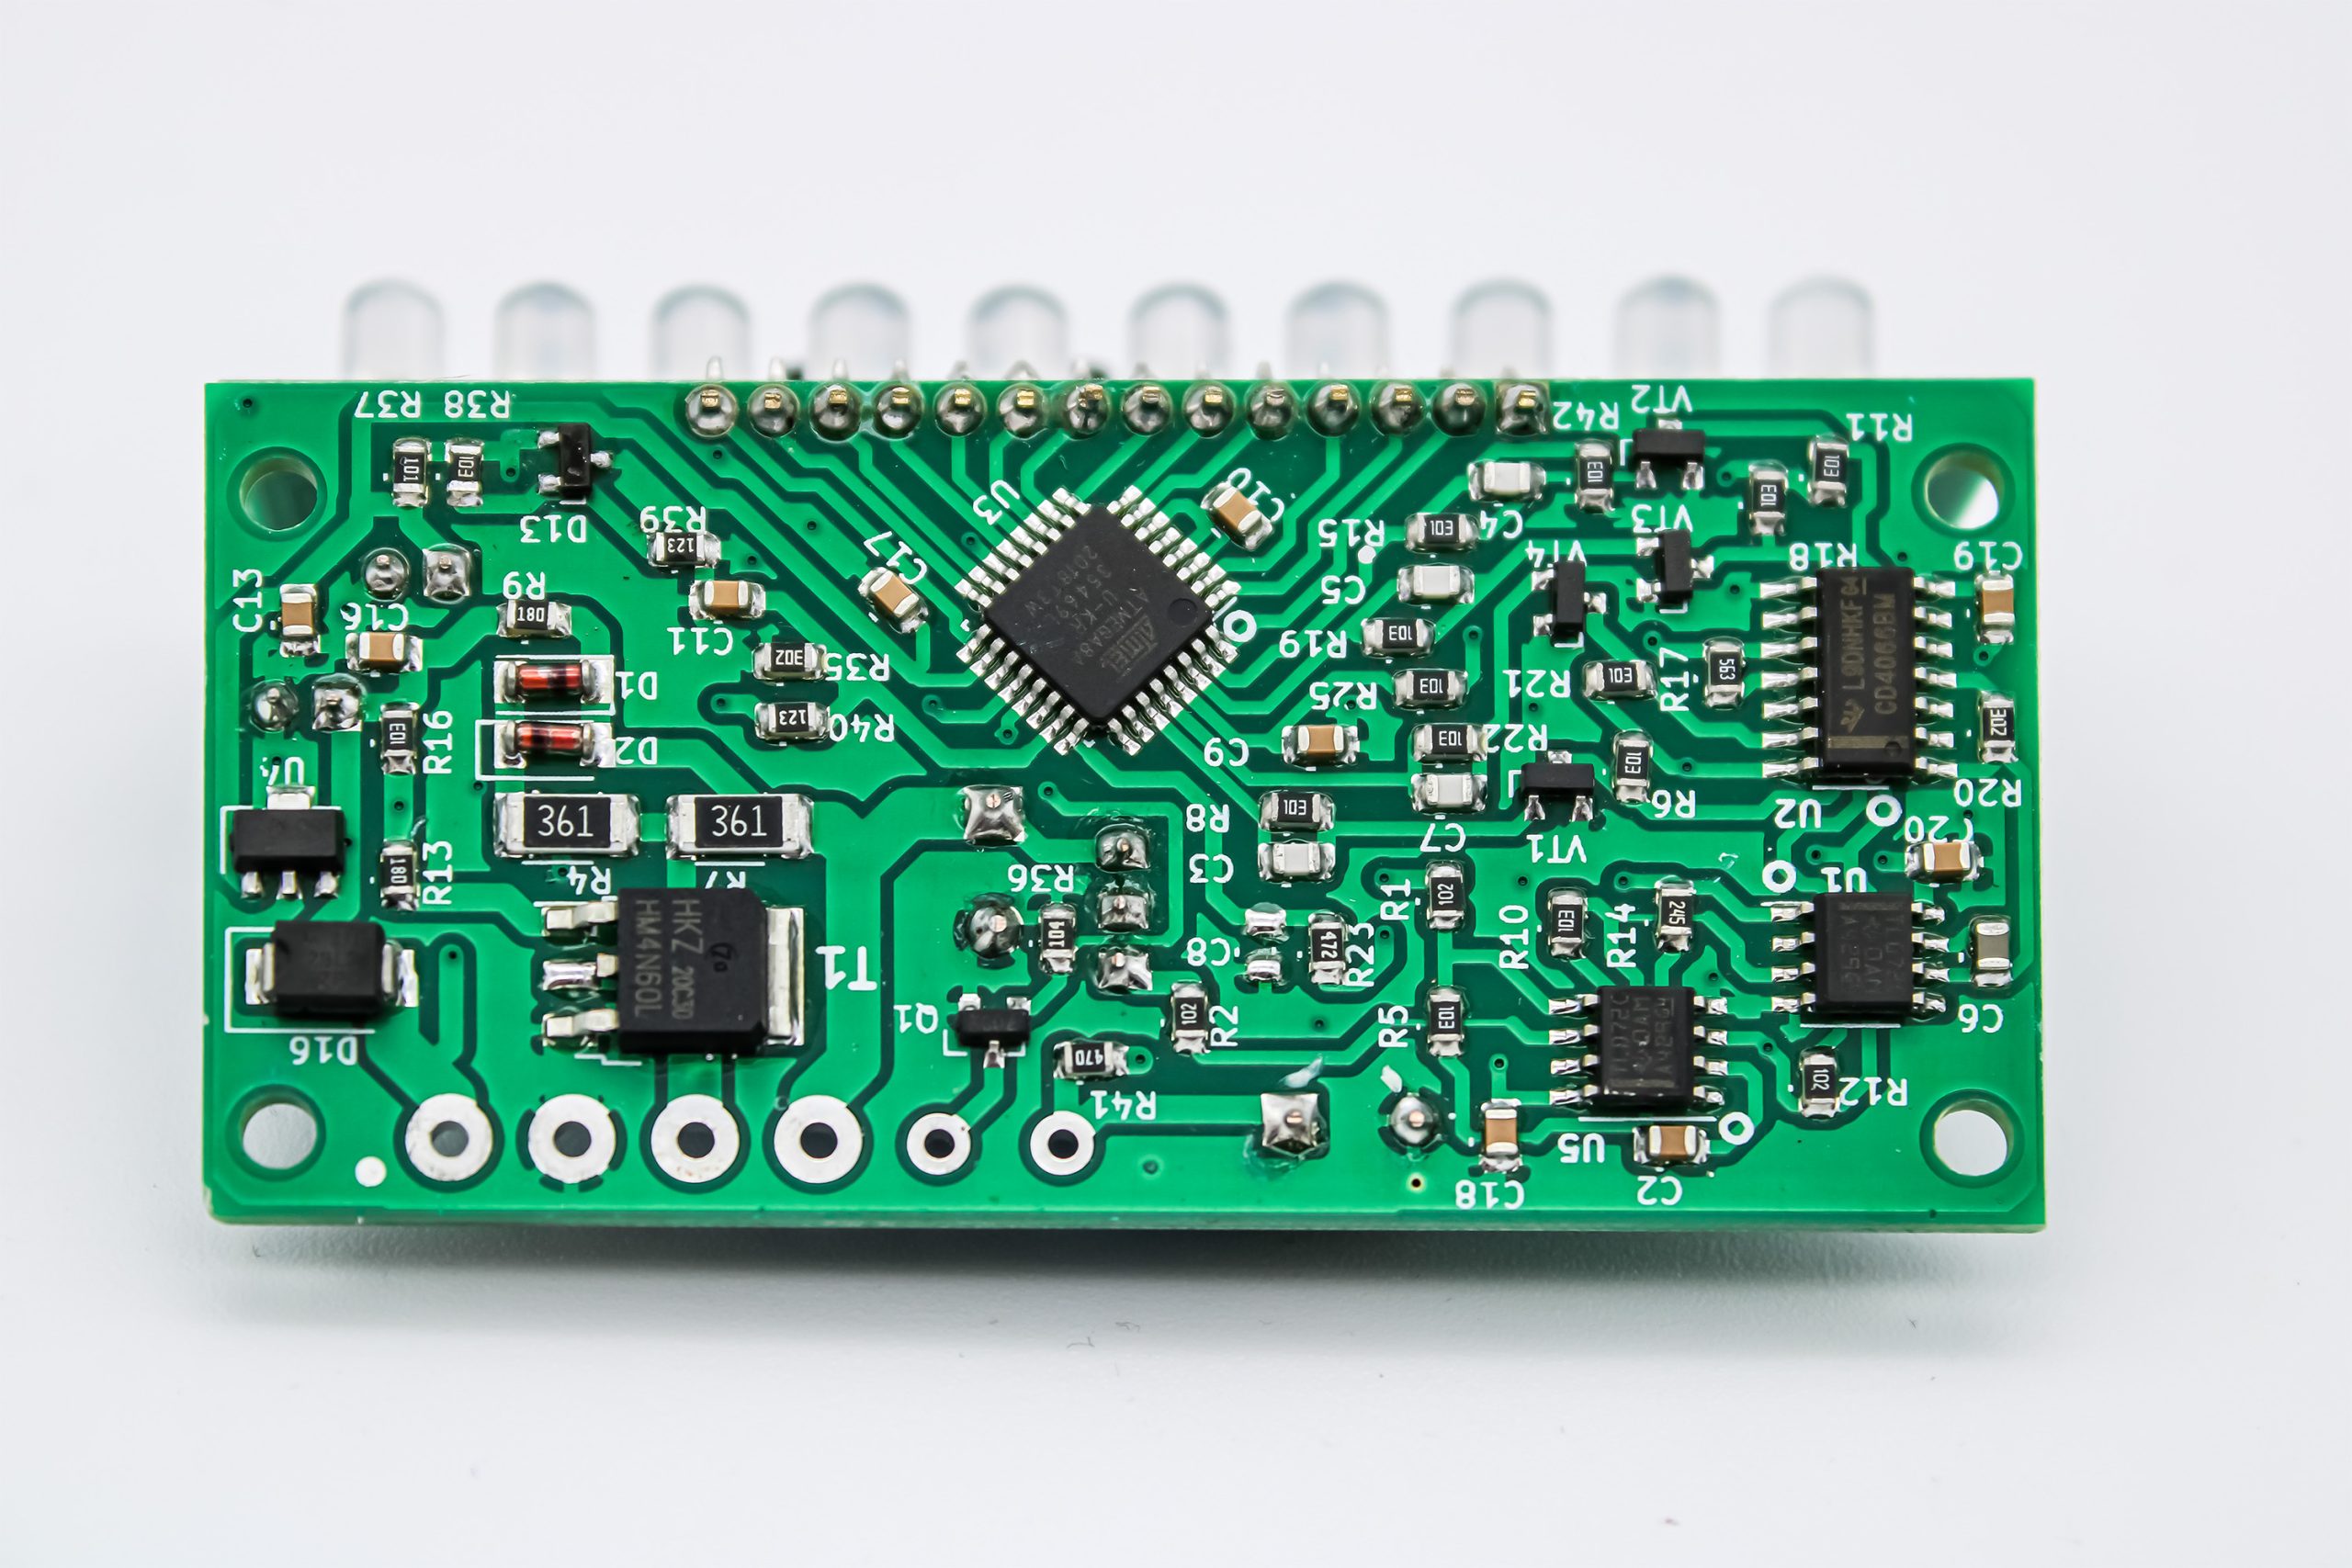
The principle of operation of the metal detector is based on the excitation of pulsed eddy currents in a metal object and the measurement of the secondary electromagnetic field induced by these currents. In the OU U1 and U5 circuit, a differential and non-invertingamplifier, as well as a measuring integrator, are implemented. Chip U2 is an analog key. The
U3 chip is a microcontroller that performs analog-to-digital conversion. On the field-effect transistor T1 assembled a powerful key. LEDs D3 – D12 are designed to indicate the detectedt arget and indicate the device settings, which is carried out using the buttons SW2 — SW6.
Assembling and setting up a metal detector
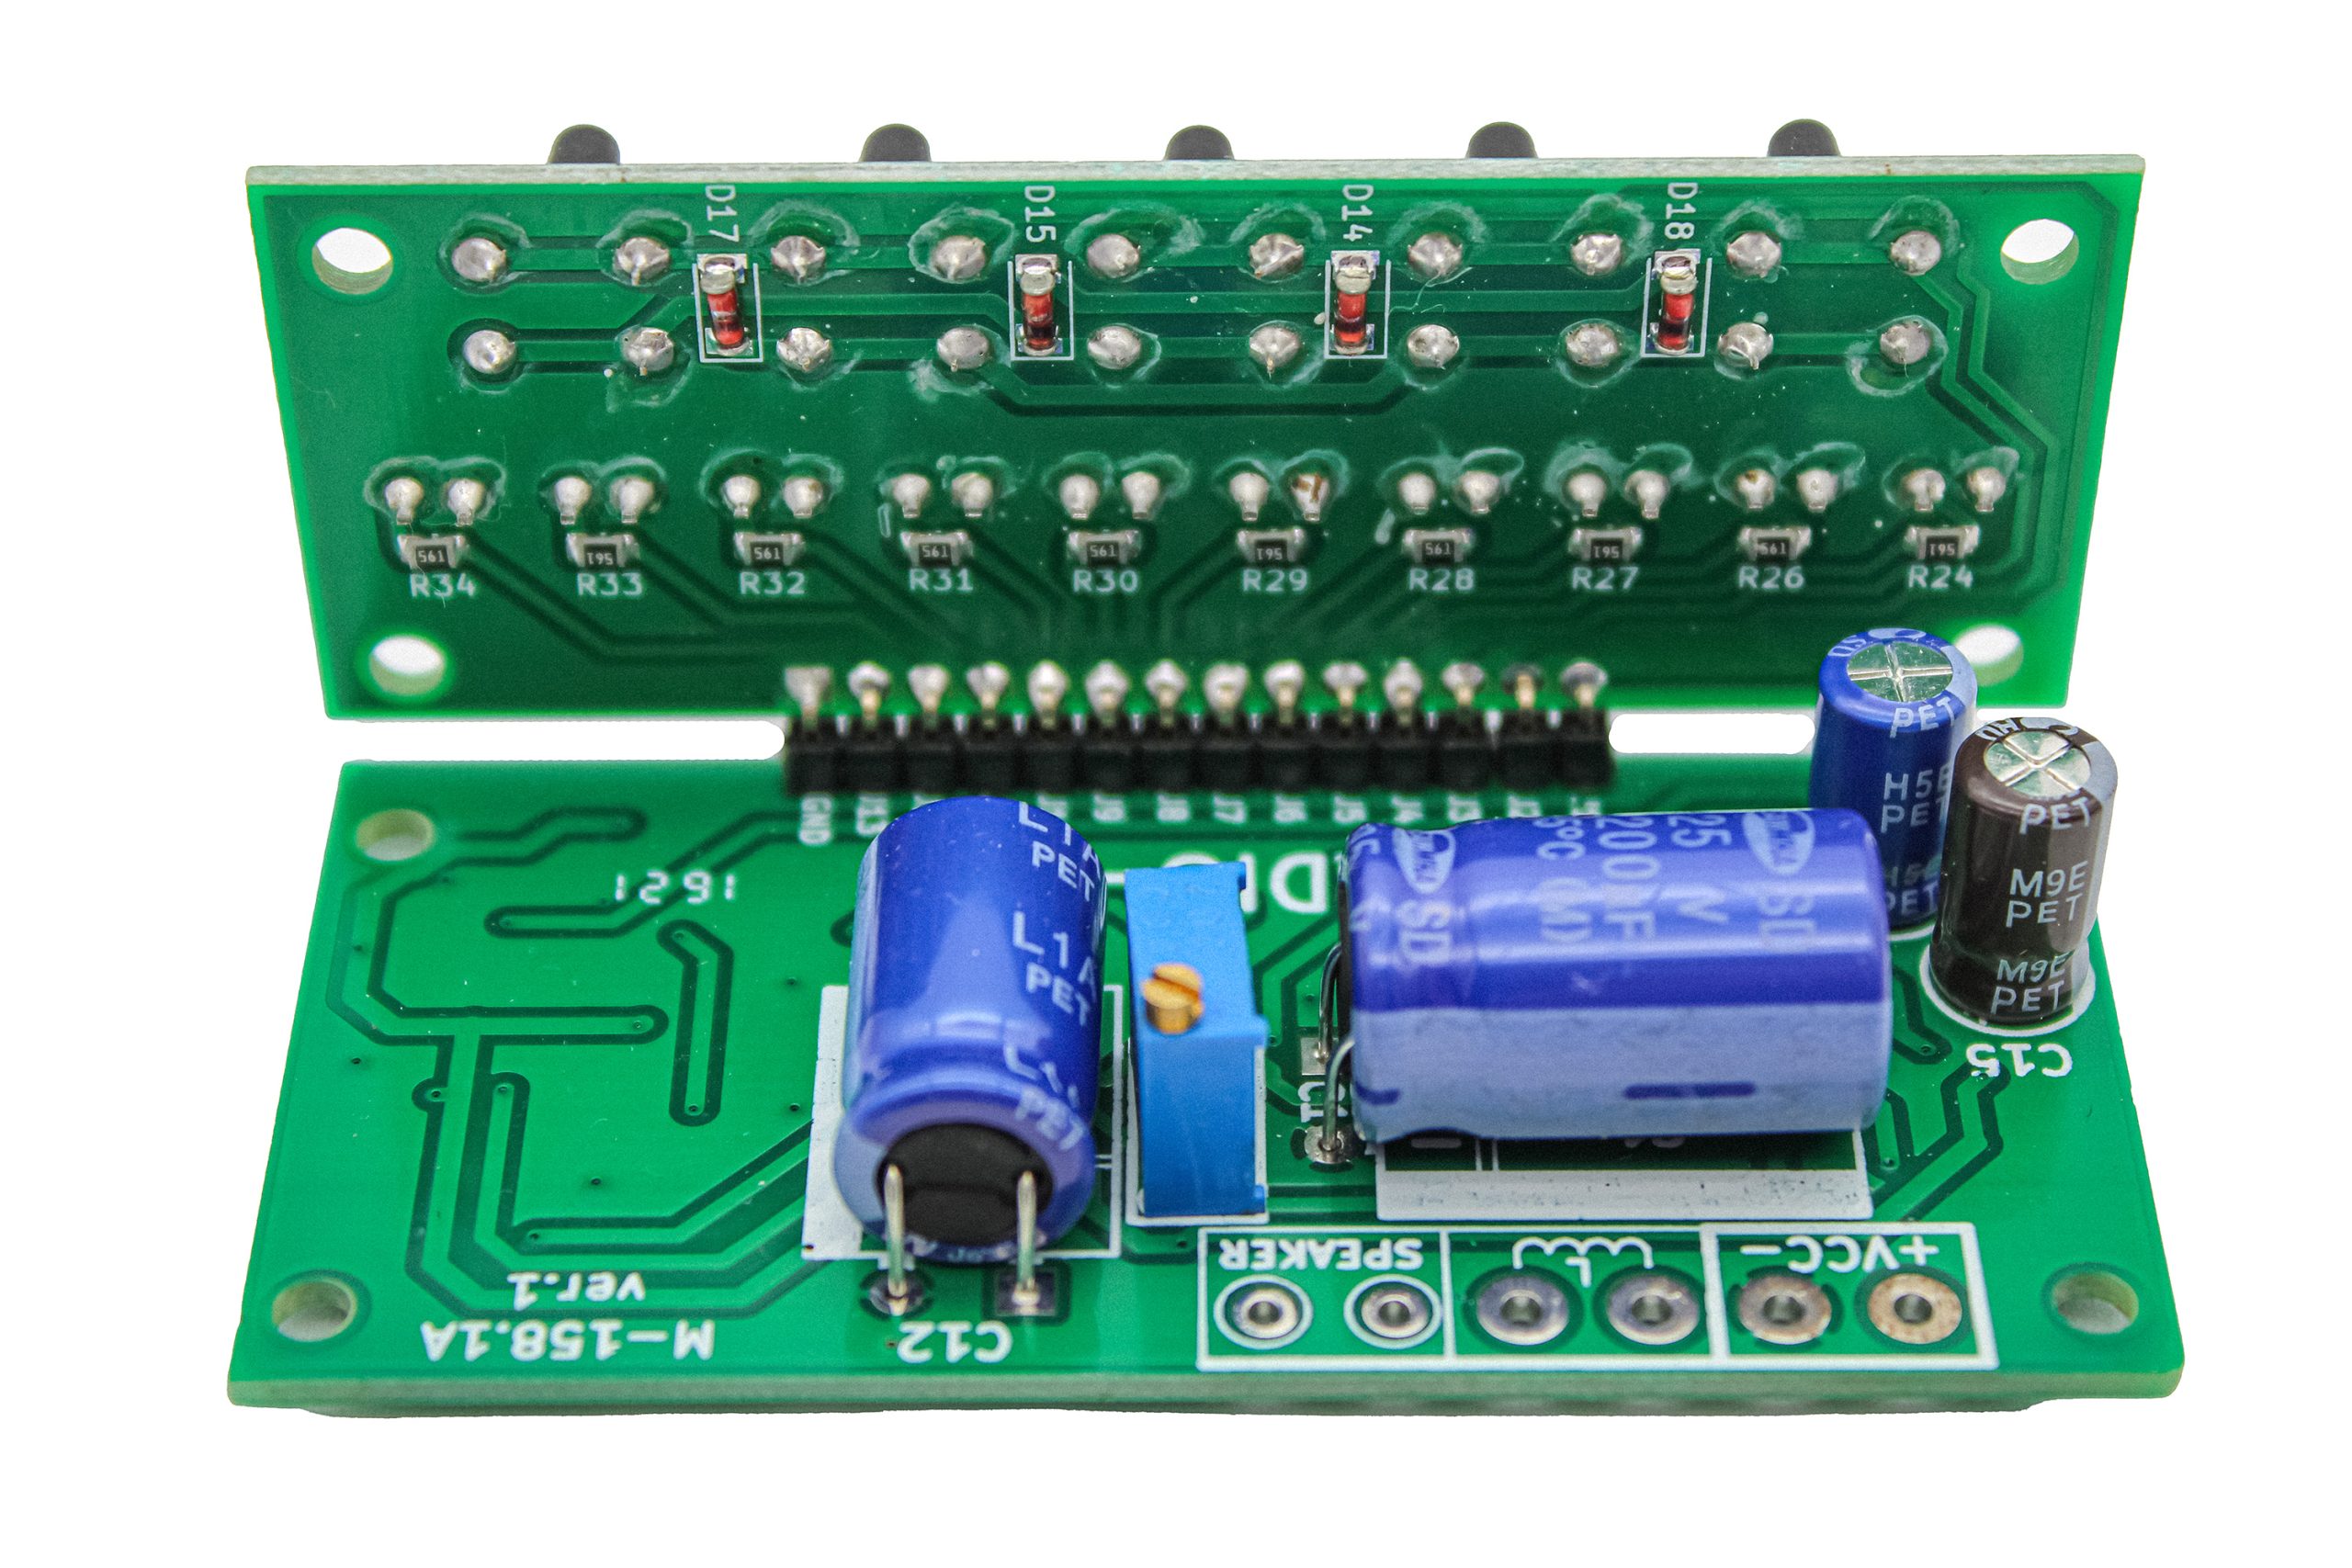
Settings are carried out away from industrial interference and large metal objects. If at this moment any metal object is near the sensor coil, the device, it is wrong. The power voltage is supplied to the contacts +VCC, 12V from the battery (in cases with the power supply, there may be interference that will lead to difficulty setting up the device). The search coil is connected to the contact L1, and the SP1 contact is 8 Ohms/0.5 watts. When feeding, the device is initiated by the device accompanied by blinking and characteristic sound. The
SW3 SW6 buttons set the minimum barrier value. The tuning resistor R3 is rotated until the device begins to make sounds on its own, and then we turn the R3 a little so that the device is silent. At each position of the tuning resistor, we press the SW4 reset button and check the sensitivity. A good result by air can be considered 22-25 cm for five cents. The setting of the metal detector can be considered finished. To look for a metal, we install a barrier in which the “instinct” of the device will be maximum with satisfactory stability. A well-tuned device does not give false works at 3-4 barrier LEDs.
Making a search coil
For the manufacture of the search coil will need a rigid non-metallic mandrel Ø from 20 cm or more. The larger the diameter of the coil – the higher the “intuition” of the metal detector to large objects (for small and medium-sized objects the diameter of the coil is about 25 cm) 25-27 turns of enamelled copper winding enamelled wire (Ø0.5 – 0.8 mm ). The ends of the wire to fix and solder on the board to the contacts L1. In order to give a rigid form to the sensor, you can use impregnations that do not conduct current and do not dissolve the enamel insulation of the wire. For example, “TSAPON varnish”, “Epoxy resin” or “polyurethane foam”
Additional information
| Weight | 0,15 kg |
|---|---|
| Dimensions | 21 × 21 × 3 cm |


Aydogan (verified owner) –
Device working properly and reliable. Support is also excellent. It was shipped very fast and safe.